How to Add Hyperlinks to HTML email templates
This short guide provides more detail how to use the Email Template Designer in pbSmart Connections. Here, we give you an overview of the Insert menu, showing you how to add key design elements: hyperlinks, bookmarks, images, Smart Elements and horizontal separator lines.
To get started, open a saved email campaign or create a new one to bring up the main Email Template Designer window. To open a saved campaign, see the My Emails page under the Email tab and click the pencil icon next to your campaign to start editing it. To create a new campaign, click the Create Email button in the top right of the same page. For help on creating a new campaign, see our article: Creating Email Templates with the Email Template Designer.
You should now see the main editor window of the Email Template Designer. Click the Insert menu dropdown to reveal a list of all the items you can add to your email design: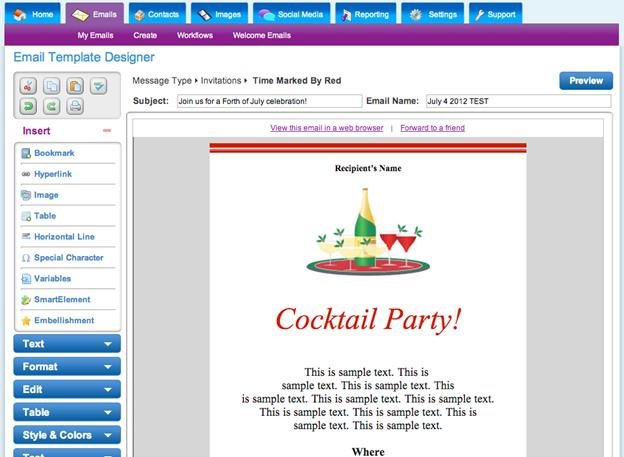
Adding Hyperlinks
To add a hyperlink into your email template, select the text or image that you want to be “clickable” in your email template, then click the Hyperlink button. In the pop-up window you will be asked to enter key details about the hyperlink.
Use the Type dropdown box to select the destination type: http, https, file, ftp, mailto, or bookmark.
For standard http and https links, enter the destination link in the URL textbox and give the link a name in the Title textbox provided.
You will also be prompted to specify whether you want the link to open in the current window, a new window, the parent window or the top window using the Target dropdown box.
When you are finished setting up your hyperlink, click the “OK “ button.
To show that it is hyperlinked, the text will now appear underlined and in blue text (or in whatever default link style you have set up in your browser and/or template). 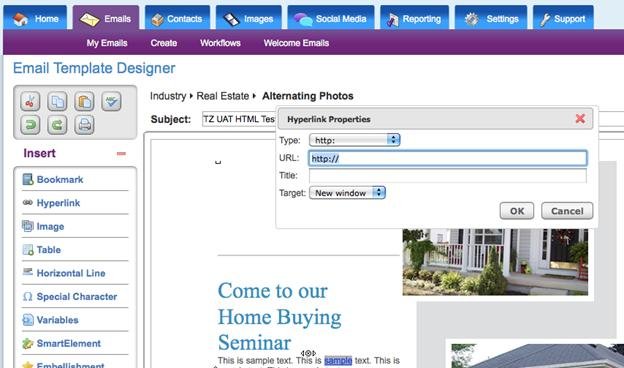
Adding Bookmarks
Bookmarks are simply the destination points that you select for certain hyperlinks. They are most often used to let readers “jump” to a point further down in your email.
To set up a jump like this you first need to create your bookmark. Click anywhere within your email design in the spot where you’d like to create the bookmark, then click the Bookmark button. In the textbox provided, enter a unique, memorable name for your bookmark, then click OK. In the spot where you created your bookmark you will now see a small icon of a ship’s anchor to tell you that a bookmark has been created there. You can double click the anchor icon to edit the bookmark name at any time. 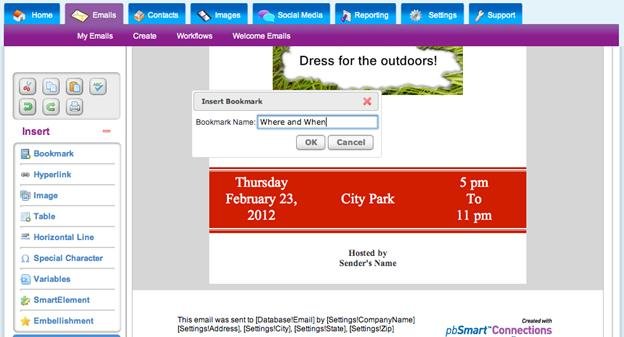
Next, you need to set up the hyperlink that will take readers to your bookmark. Select the text or image that you want to point to the bookmark and click the Hyperlink button. In the pop-up window that appears, select “Bookmark” from the Type dropdown box. The URL textbox will now display a hash (#) symbol. Enter the name of the bookmark you want to point to, being careful to enter the name exactly as you set it up using the Bookmark feature, avoiding any spaces between the hash symbol and the bookmark name. You can enter an optional Title for the hyperlink in the textbox provided. Assuming you wanted to create a link that jumps down within the same window, select “Current Window” from the Target dropdown box. To finish setting up your hyperlink, click OK. Now, when readers click this hyperlink in your email they will be taken to the exact spot where you added your bookmark. 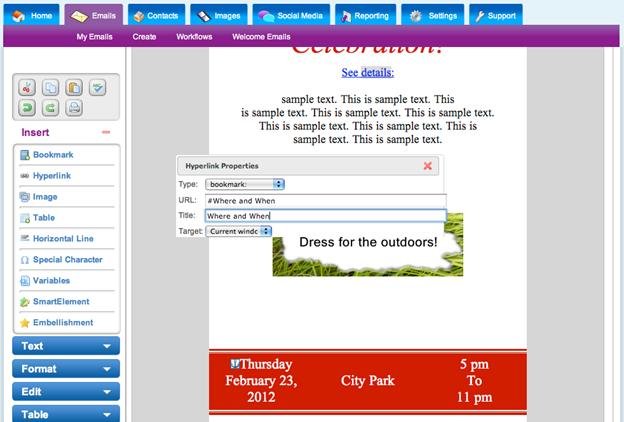
Adding Images
To add an image to your email marketing template, position the cursor at the spot where you’d like the image to appear. After clicking the Image button, a window will open showing you all the images in your personal Image Gallery. Simply click on an image to select it, then click the Insert button to add it to your design. 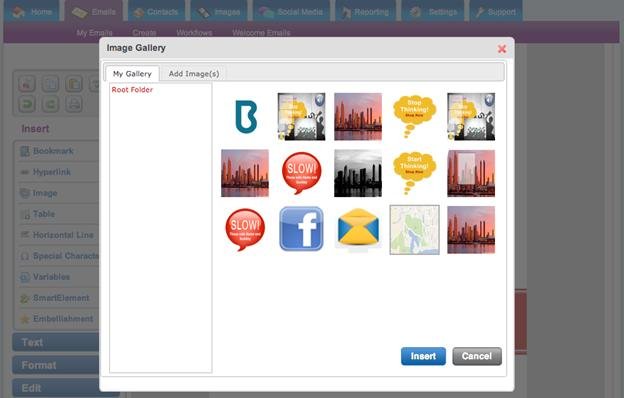
Adding an image that is not already in your Image Gallery is easy. Click the Add Image(s) tab, and then click the Choose File button to locate your image on the hard drive. Click OK to permanently add that image to your library.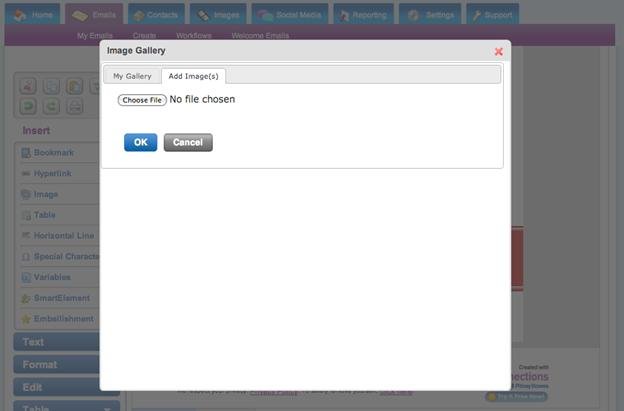
Inserting “Smart Elements” or Embellishments
Smart Elements are a flexible and powerful new feature of the Email Template Designer. Smart Elements are pre-made, editable graphics that add a sophisticated touch to your email designs and can be inserted as easily as images.
Click the Smart Element or Embellishments button to bring up a gallery of available Smart Elements or Embellishments. Click the category labels on the left to filter the list by theme.
When you find the Smart Element or embellishment you want to use, click its thumbnail image and then click the Insert button. 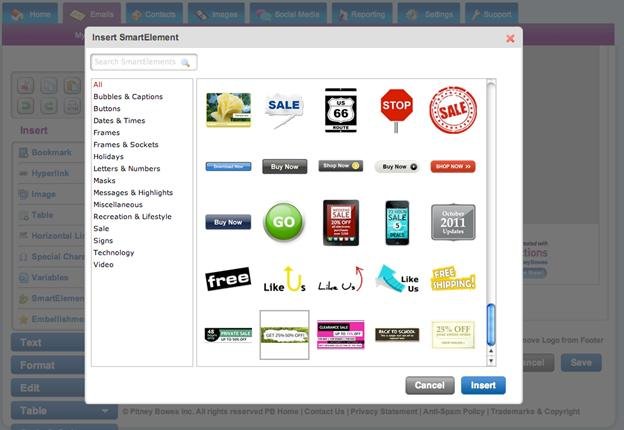
To edit text, double-click the existing text and enter new text into the box provided, remembering to click the green checkmark when you are finished.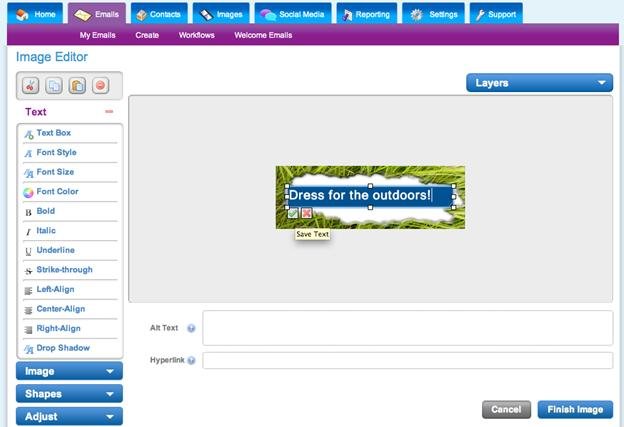
After updating the Smart Element or embelishment, click the Finish Image button to return to your email design, where your customized Smart Element will now appear.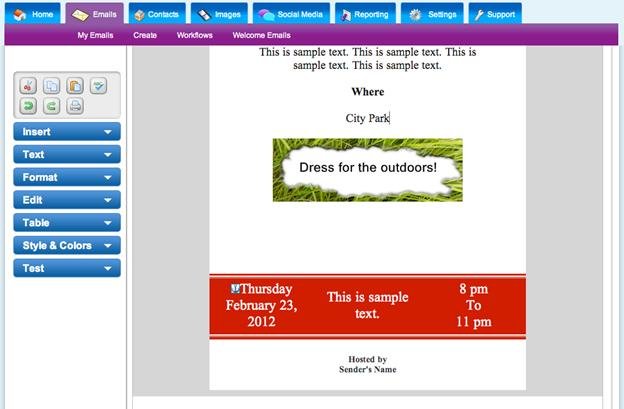
Adding Horizontal Separator Lines
For easier scanning of your email creative it can be helpful to add horizontal lines to your email template. To do this, simply position the cursor at the spot where you’d like a line to appear and click the Horizontal Line button. A thin separator line will appear in your design. To remove a horizontal line, simply place the cursor immediately after it and click the backspace or delete button on your keyboard. 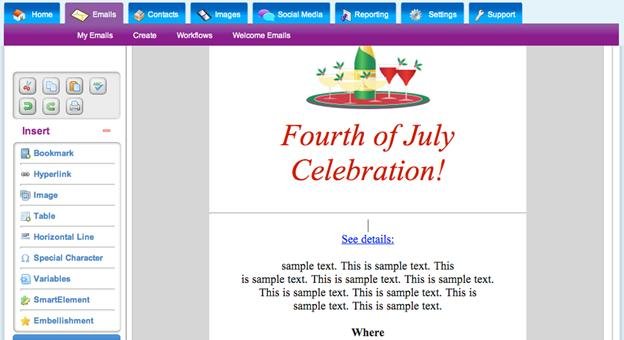
To learn more about inserting items into your email template, see our other articles: How to add tables into my email templates, and personalizing your email template using your database fields.