Creating Email Templates
If you’ve been using pbSmart™ Connections for a while, you’ll know how easy it is to create and customize your email template. As part of a recent update, pbSmart Connections has an all-new Image Editor to give you even more freedom to create polished and professional-looking email designs.
This article shows you how to create an email template using the new Email Template Designer.
To get started, log in to pbSmart Connections and within the Emails tab, click the Create button. Enter a name for your campaign in the text box provided and click Save And Continue.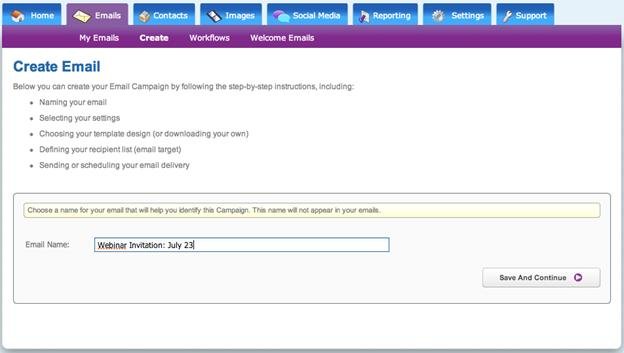
On the next page, enter your Subject line, as well as the “from Name” and email address that you want to be displayed in the recipients’ inboxes. Click Save and Continue.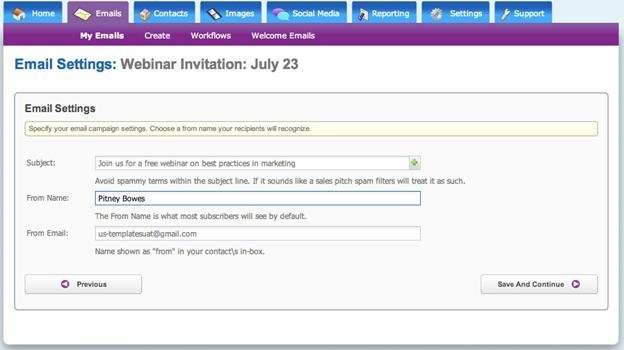
To start designing your email campaign, you can choose from hundreds of templates in various styles and categories.
In the main window you will see thumbnails of the available templates, spread out over several pages that you can navigate through by clicking the Prev/Next buttons or page numbers. Use the dropdown boxes above the thumbnails to choose how many to display on a page, or to adjust the size of the thumbnail previews.
The links along the left allow you to filter the list: either by all, by industry, by message type or by template style. Clicking each of these links expands that particular section to show the available filters. Click View all Templates to go back to the default view. 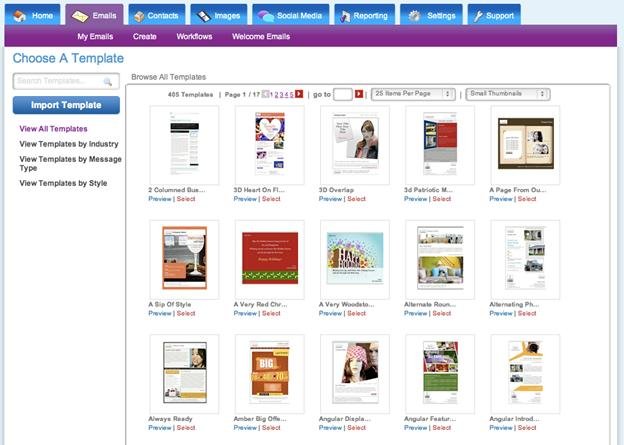
There are links below each thumbnail that let you Preview a full-size version of the template or Select the template for use. Clicking the Select button takes you to the design window where you can customize the template.
For maximum flexibility, pbSmart Connections also allows you to import your own template. To use an email template that you have created outside of pbSmart Connections, click the Import button to locate and upload a file from your hard drive. 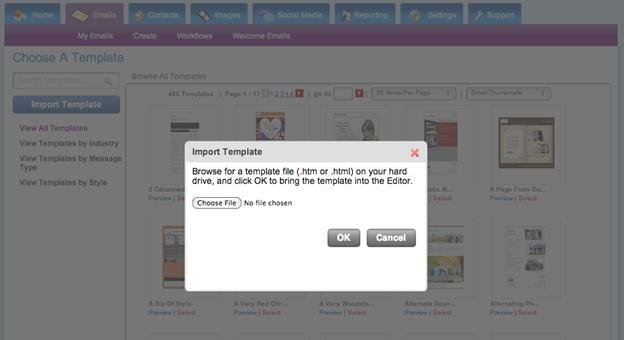
After selecting your template, you will be taken to the main Email Template Designer window. Here you can take advantage of powerful editing tools to customize your email template and get the exact look-and-feel you need for your campaign.
At the top of the design window you will see your subject line and email name displayed. The Preview button gives you a quick look at how your design will appear in a typical inbox. In the top left corner of the window you will see a familiar set of toolbar buttons for use in editing your template. Reading across from the top, they are: cut, copy, paste, spell-check, undo, redo and print. Beneath the toolbar are several dropdown menus that expand to reveal additional design tools. 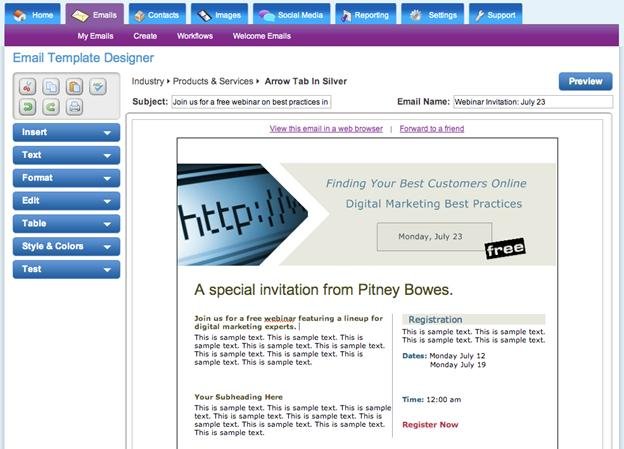
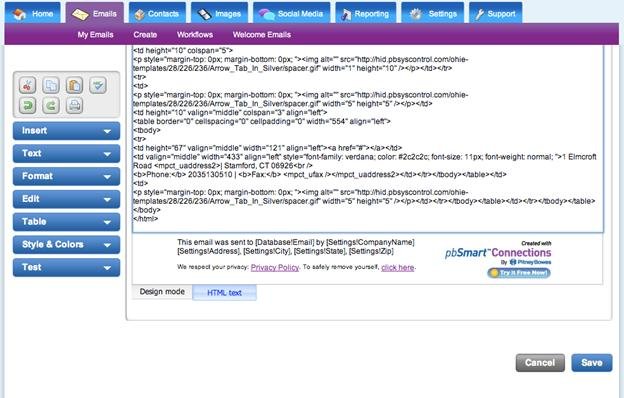
By default, the Email Template Design window opens in Design Mode, which display the template as most recipients will see it. (This is sometimes referred to as a wysiwyg” editor.) In design mode you can click anywhere within the design preview to add text or make edits directly to your template, much as you would in a word processor. If you are comfortable editing html code, you can customize your template directly by clicking the HTML text tab at the bottom of the window:
We will now walk through each of the editing menus available on the left-hand side of the Email Template Designer window.
The Insert menu allows you to add standard elements like hyperlinks, images, and tables to your email. To increase the visual impact of your design, you can also choose from a large library of graphics to add to your design. Graphics come in two forms: customizable “Smart Elements”, or pre-set “Embellishments”.
The ability to customize Smart Element graphics gives you greater power to emphasize your message and ensure that your email design is as unique as your brand. For more information, see the article: How to insert images, hyperlinks, smart elements & more 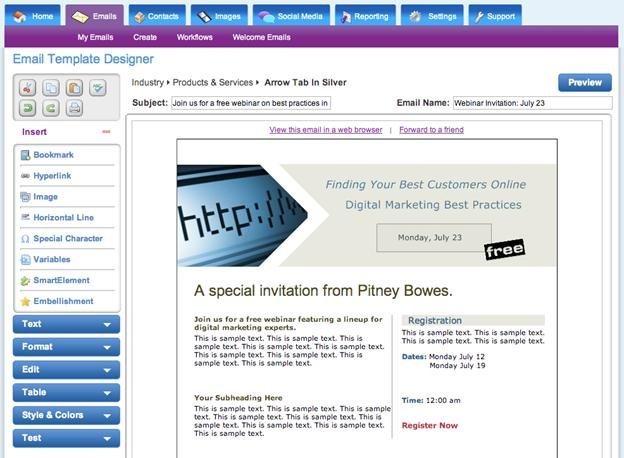
The Text menu allows you to adjust various style elements of your text, including the font, emphasis, and color. For more information on inserting these items, see the article: How to change styles & colors in email templates 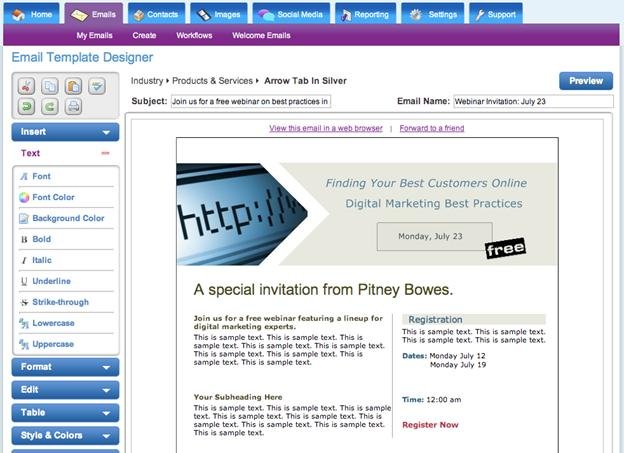
The Format menu allows you to make adjustments to the layout of the text and images, including: justification, lists and indentation. Use the mouse to select the portion of the design that you wish to format and click one of the menu items. 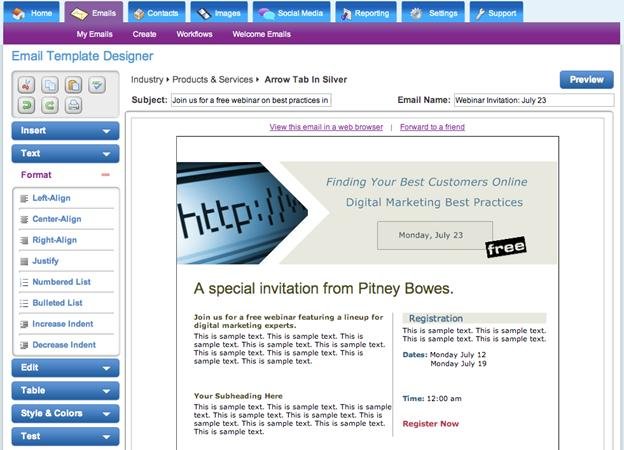
The Edit menu allows you to find, select, and replace text, as well as turn on grid overlays. You can also lock the currently selected block of text to avoid making accidental changes while working on the rest of your design. 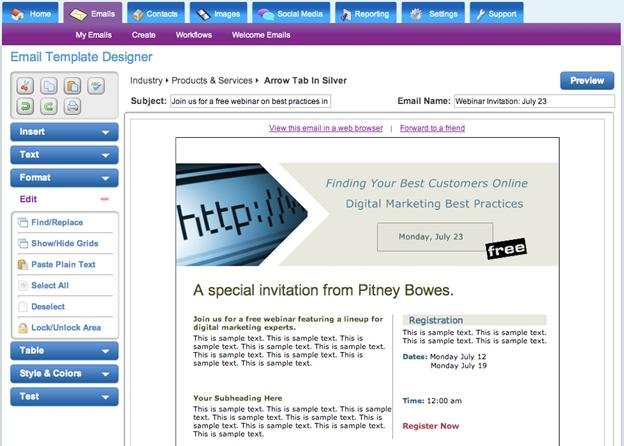
The Table menu allows you to add a new table, and add or take remove rows and columns. For more information working with tables, see the article: How to add tables into my email templates. 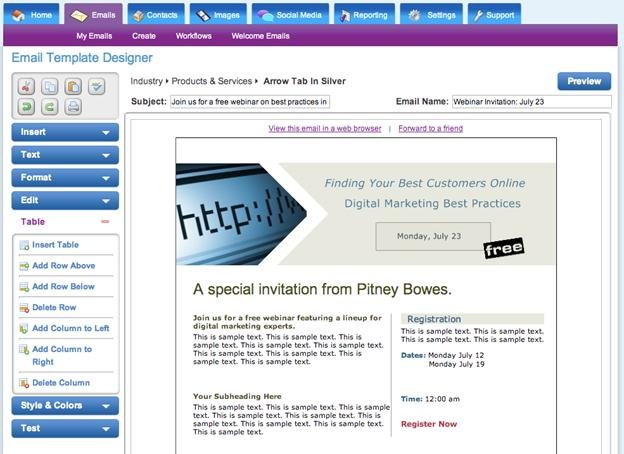
The Style & Colors menu contains two special editing tools. The powerful Color Theme tool allows you to make widespread changes to the colors used in your template. For more information on the Color Theme tool, see the article: How to change styles & colors in email templates
The Insert Div tool allows you to add an empty “container” to your template that you can fill with an image or text. 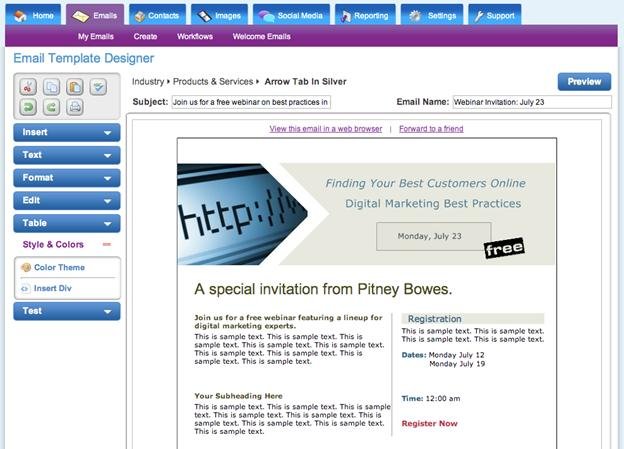
The Test menu includes two proofing tools to assist you as you make edits to your template. The Spell Check tool works exactly like the spell check tools found in most word processors. The Inbox Preview is a powerful diagnostic tool that lets you to see how your email will look on specific devices and email clients, ensuring that your email appears exactly as intended.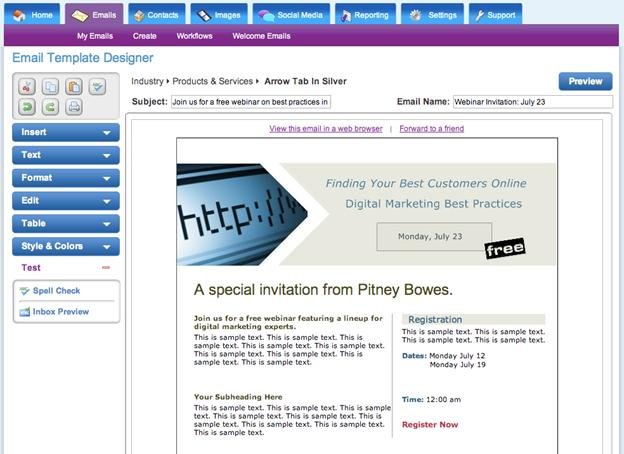
When you have finished designing your email template, simply click the Save button in the bottom right to move onto the next step. And that’s it – you’re almost ready to send your email campaign!
For more information on using the new Email Template Designer, see our other how-to articles and videos in the pbSmart Connections learning center.